See how our AI agents are being used to deflect tickets and bring down response times at Zeffy:
myaskai.com/blog/zeffy-myaskai-case-study
myaskai.com/blog/zinc-reducing-support-tickets-overnight
How to Add Your AI Support Agent to Your Site
Step 1 - Navigate to the Channels page
Head on over to your Dashboard then click Channels in your side menu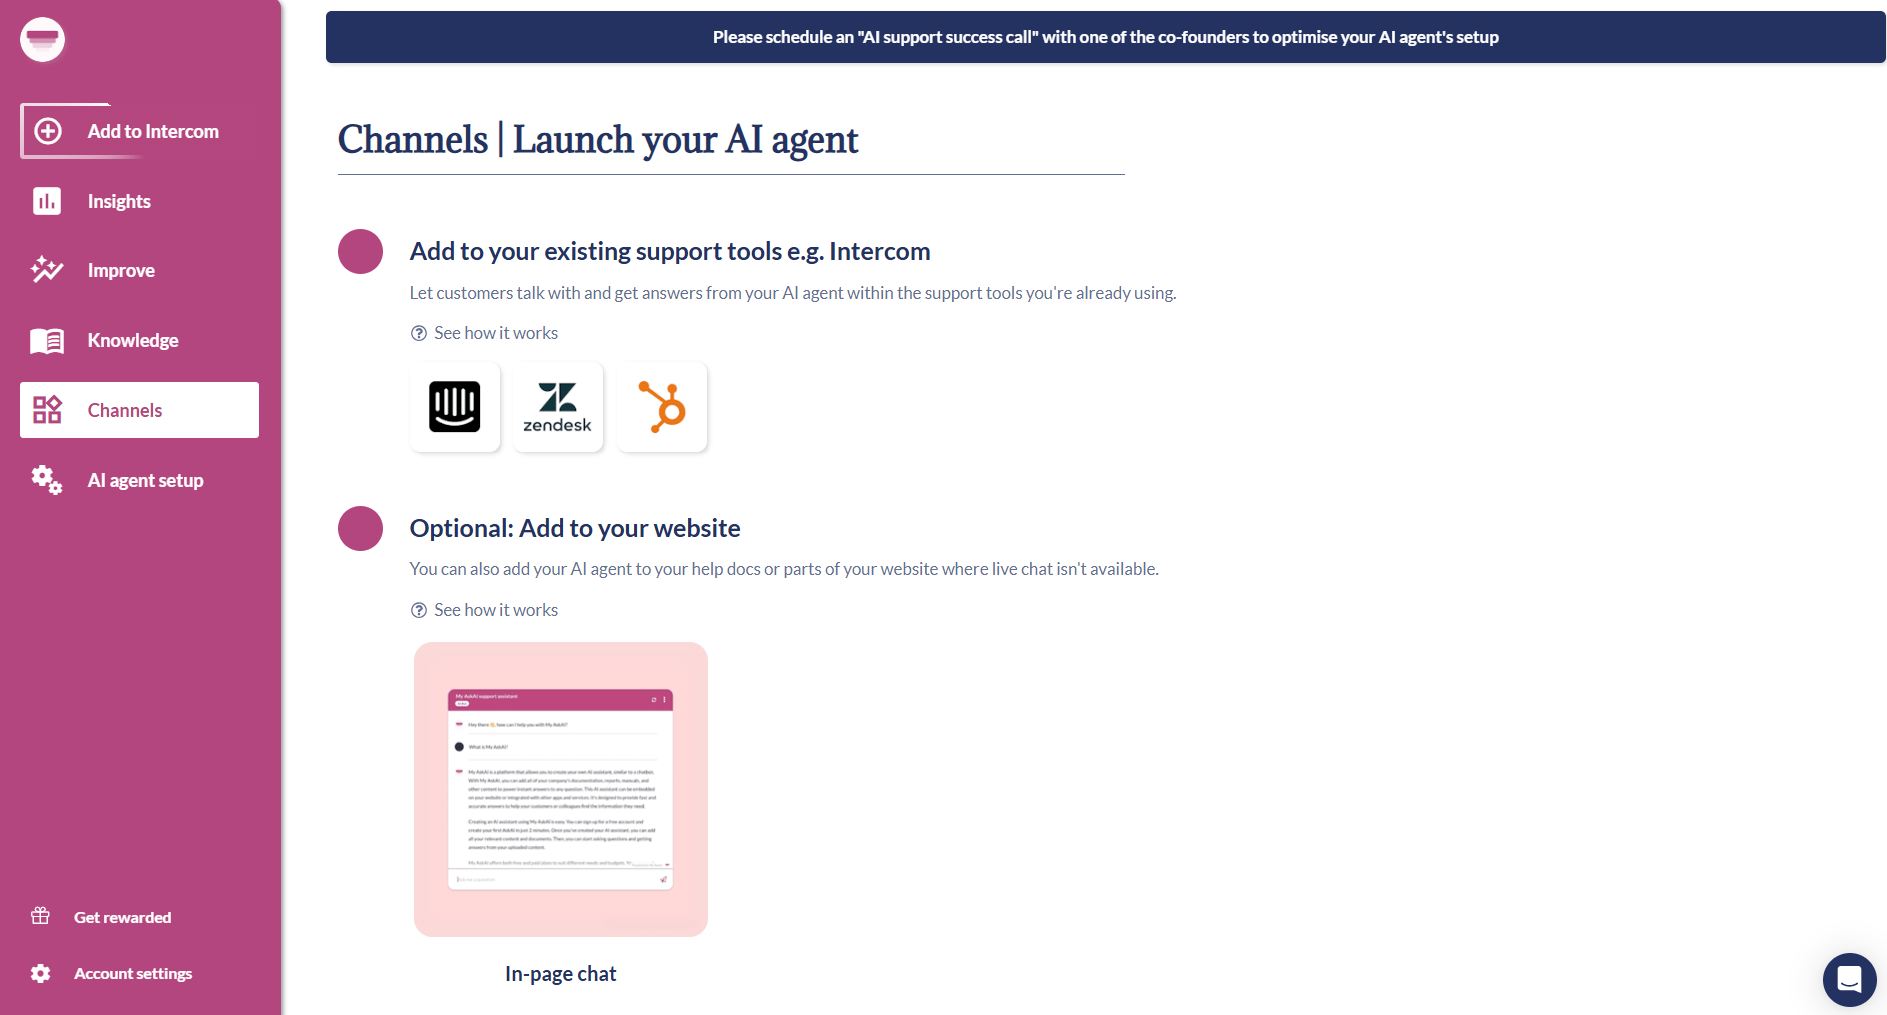
Step 2 - Choose how you want to add to your site
You can either add your AI agent as a widget (in the bottom corner of your screen) or as an embed (in the page itself). You can also switch between the floating bubble and the in-page chat at a later date by clicking “Change type”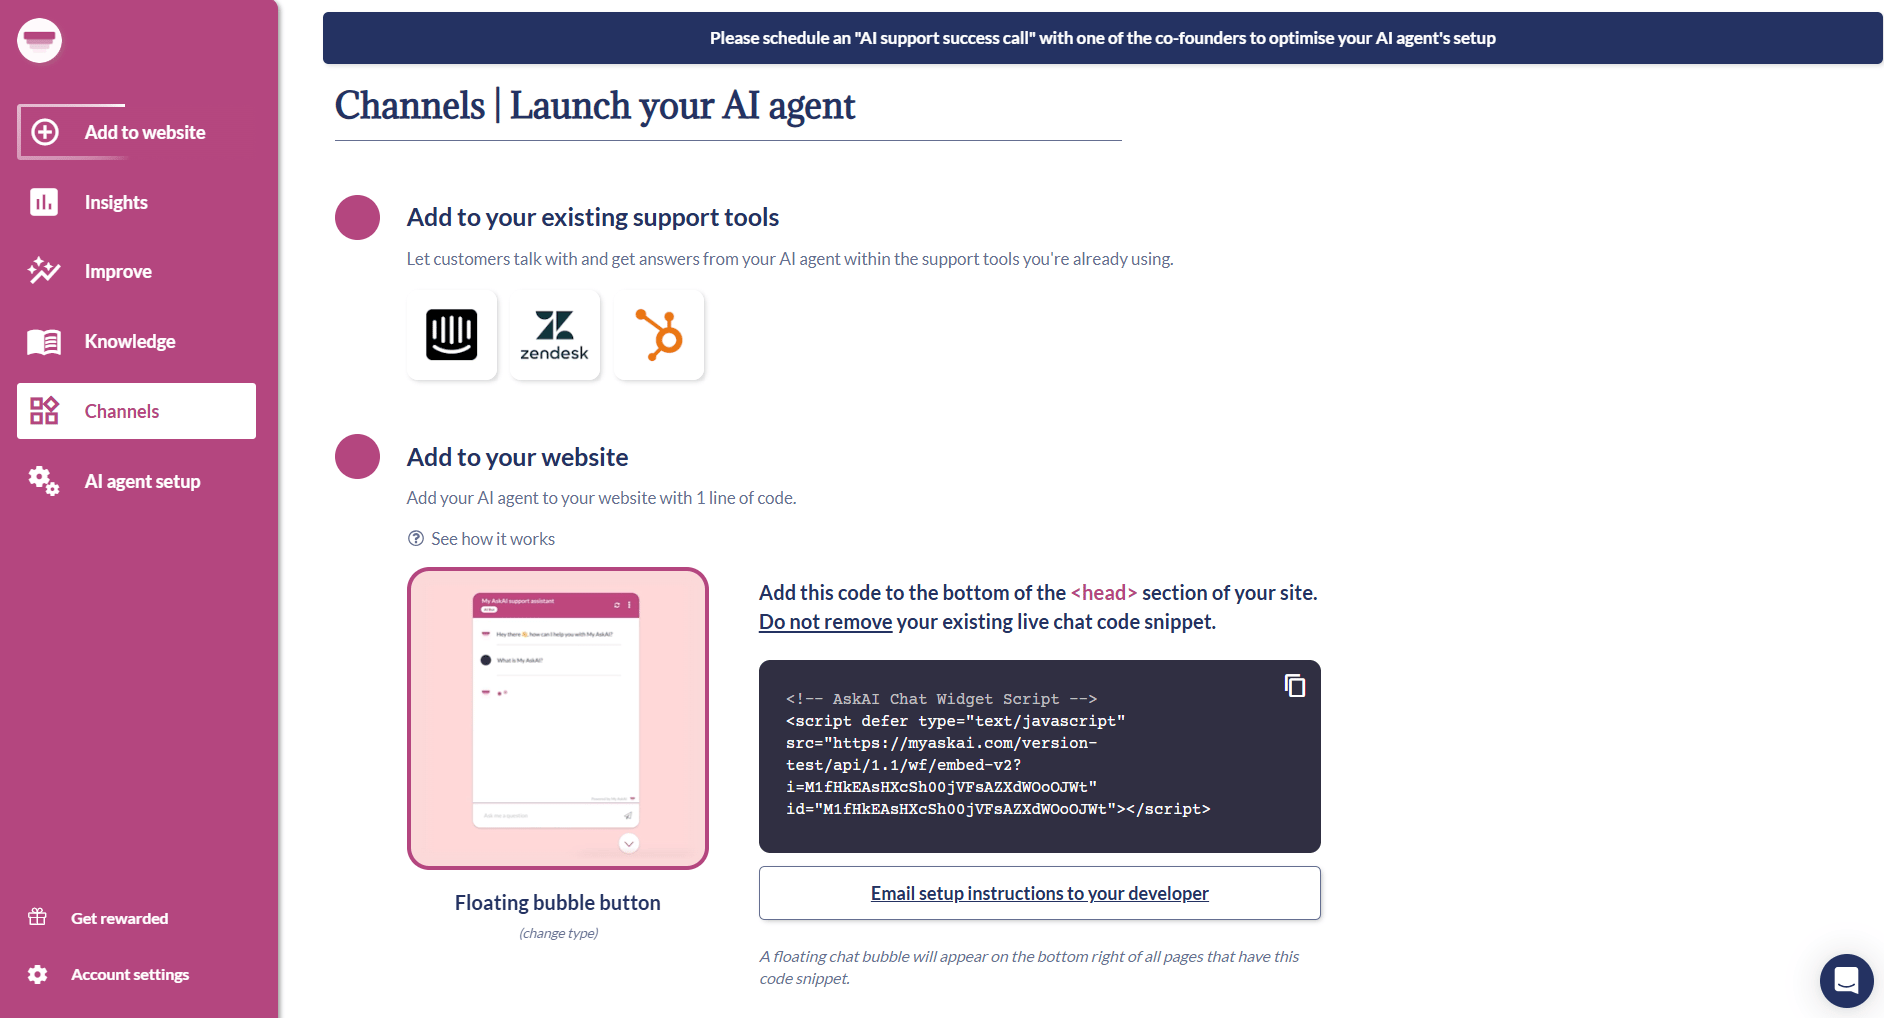
Step 3 - Copy the code snippet and add it to your site
Once you have selected your widget, all you need to do is click on the copy icon in the black box showing the code snippet and then paste it into the <head> section of the HTML on your site. Most website builders will allow you to do this in a custom code section but if you have any issues adding it just get in touch with us via our chat and we’ll help you out.If you are choosing to embed within the page itself, instead of as a chat widget in the corner of your page then you will have to paste 2 code snippets - 1 in the <head> section and 1 in the <body> section (where you want the chat to live!)
WordPress
Shopify
Zendesk
Step 4 (optional) - Advanced settings
There are a few settings you can tweak on each mode, here’s what you can change:Chat widget
- Auto-open: You can make your AI chatbot auto-open for new users on a page, and also select the length of time it will open after, it will only do this for 1st-time visitors.
- Pulsate: Your chat icon will “pulse” in the bottom corner of the page for 10 seconds (or until opened), to draw more attention to it, again this will only be for 1st-time visitors.
- Animated chat icon: Your chat icon will have a subtle animation, again to draw attention to it for the user.
- Chat icon color: Edit the color of the chat icon to match your brand, just choose your HEX code.
Chat embed
- Live chat widget visibility: You can choose if you want us to hide your live chat widget by default, until someone asks to talk to a person with your AI agent.