Only to be used if you are not currently using a helpdesk such as Zendesk, Intercom, Gorgias, HubSpot or Freshdesk/Freshchat.
Quick reference guide
- How do I test my AI email assistant?
- How do I verify my email for my AI email assistant?
- Setting up your AI email assistant - Manual assist mode
- Setting up your AI email assistant - Autopilot mode
- How to set up email forwarding
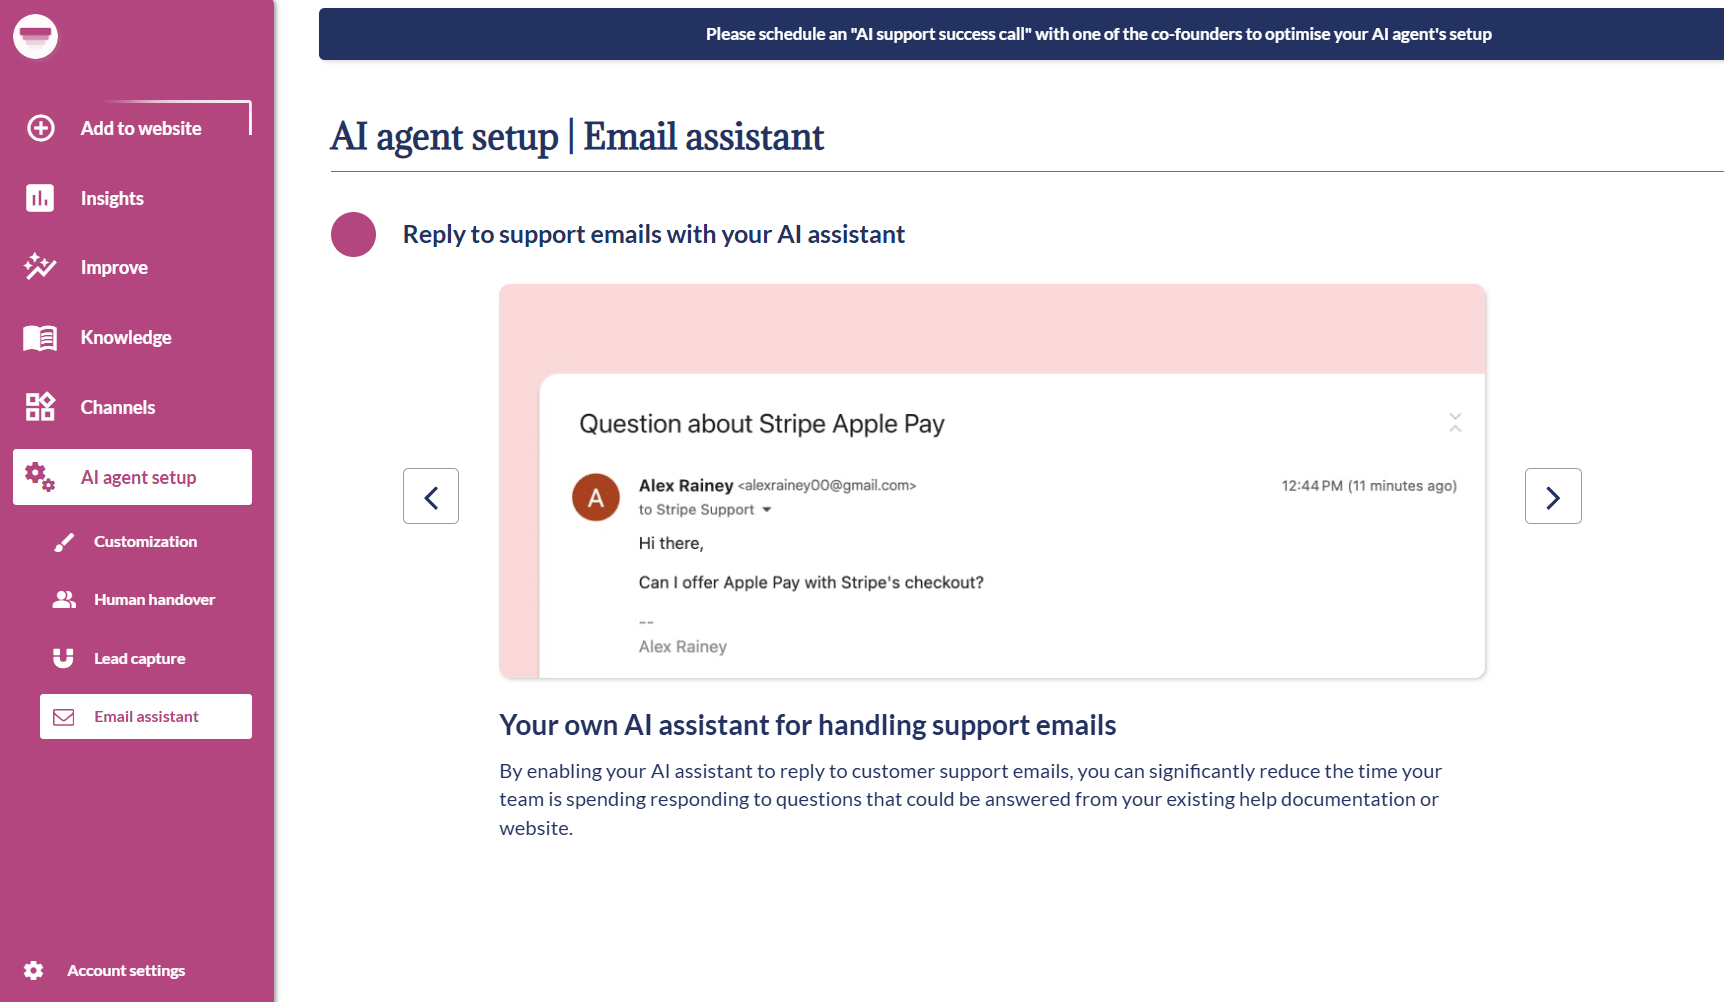
How to create an AI email assistant
How does my AI email assistant work?
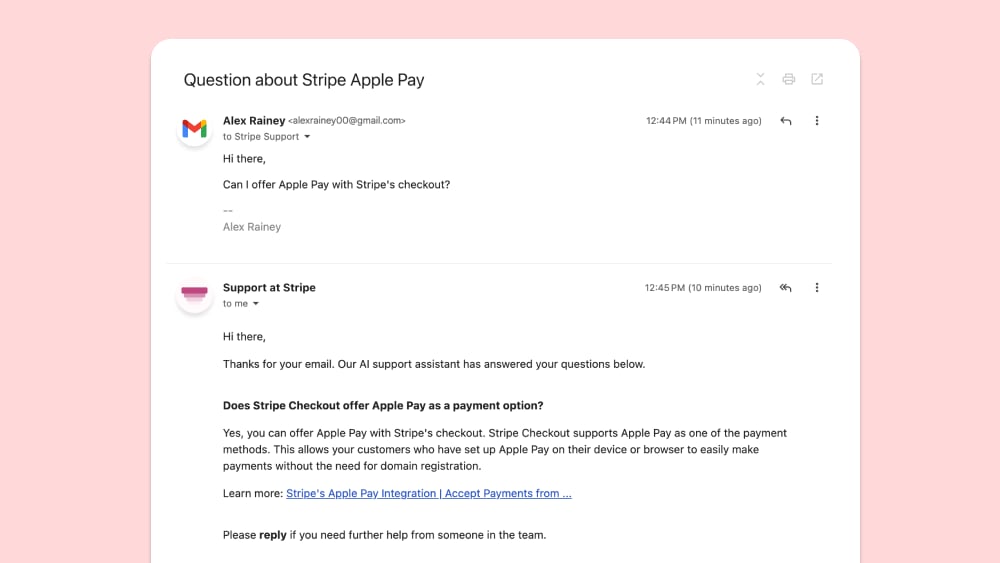
Simply put, your AI email assistant answers your support emails, using your company knowledge, and the knowledge you have already provided to your AI email assistant through your website and connections. It means that your customers will get instant responses to emails, not just “Hey we received your email, we’ll get back to you soon” but something actionable and useful, guiding them in the right direction (like the screenshot above). If it doesn’t answer their question, all the user has to do is reply to the email, and you’ll then be able to reply from your inbox, but having ruled out a few things or gotten some more information first. Think of it as a “email 1st line of defense” to resolve 50-75% of customer queries that could be answered by looking at your existing help documentation. You can have your AI email assistant auto-respond to things for you, or you can choose which questions you want it to answer by manually forwarding emails yourself.Your AI email assistant will only respond to the 1st email from a user in a thread/chain, it will not have a “back and forth” conversation with them.
The email assistant will not create draft emails, it will directly send emails on your behalf, either for emails you specifically choose (Manual assist) or for all emails (Automatic reply)
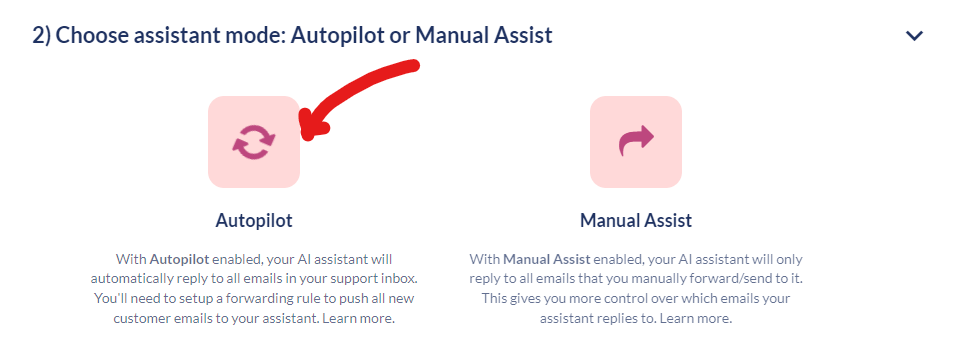
Email assistant - Modes
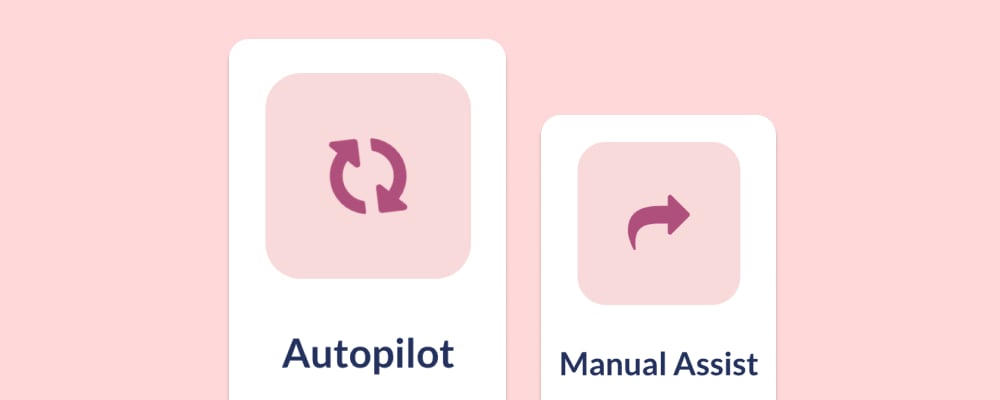
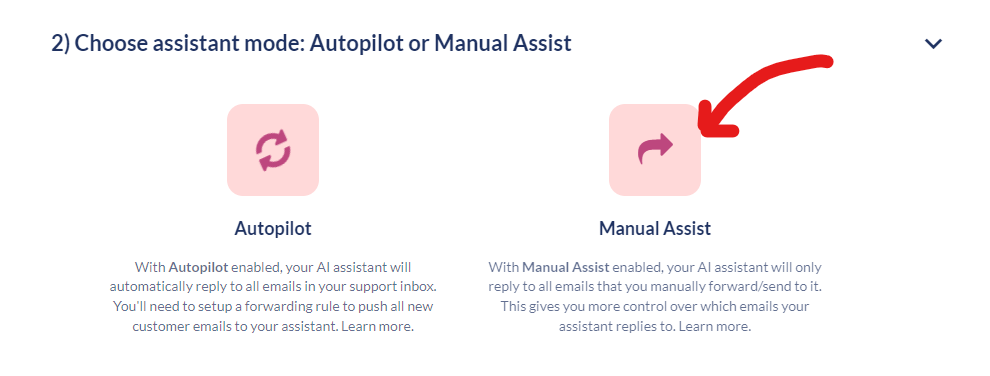
Manual Assist
Manual Assist is where you have complete control over which emails are going to be answered by your AI email assistant. You will be given a unique email address for your assistant that you can forward emails to when you want it to answer them. The assistant will then answer the email directly to the user and copy (cc) you into the email chain so you can see the response given if you need to add any further clarification. Alternatively, you can email the assistant yourself with the question and get a response back that you can share with the user. You can, of course, also set up a filter or rule in your inbox that prevents the replies from coming into your main inbox. Best for: Inboxes that are cross-functional, and used for support, inbound leads and business development.Autopilot
Autopilot means that as emails come into your inbox they are answered, automatically by your AI email assistant. You don’t need to do anything but will be copied (cc) into the email chain so you can see the responses given if you need to add any further clarification. You can, of course, also set up a filter or rule in your inbox that prevents the replies from coming into your main inbox. Best for: Inboxes that are fully dedicated to customer support.Which mode should I use for my AI email assistant?
The mode you use likely for your AI email assistant depends on how you currently use your inbox and manage support. If you have a dedicated support inbox that only receives support emails, then Autopilot will work well. If however, you have a multi-use, more general inbox, then selecting the emails that go to the AI email assistant probably makes more sense as you won’t want it responding to suppliers and team members, etc.How do I set up my AI email assistant?
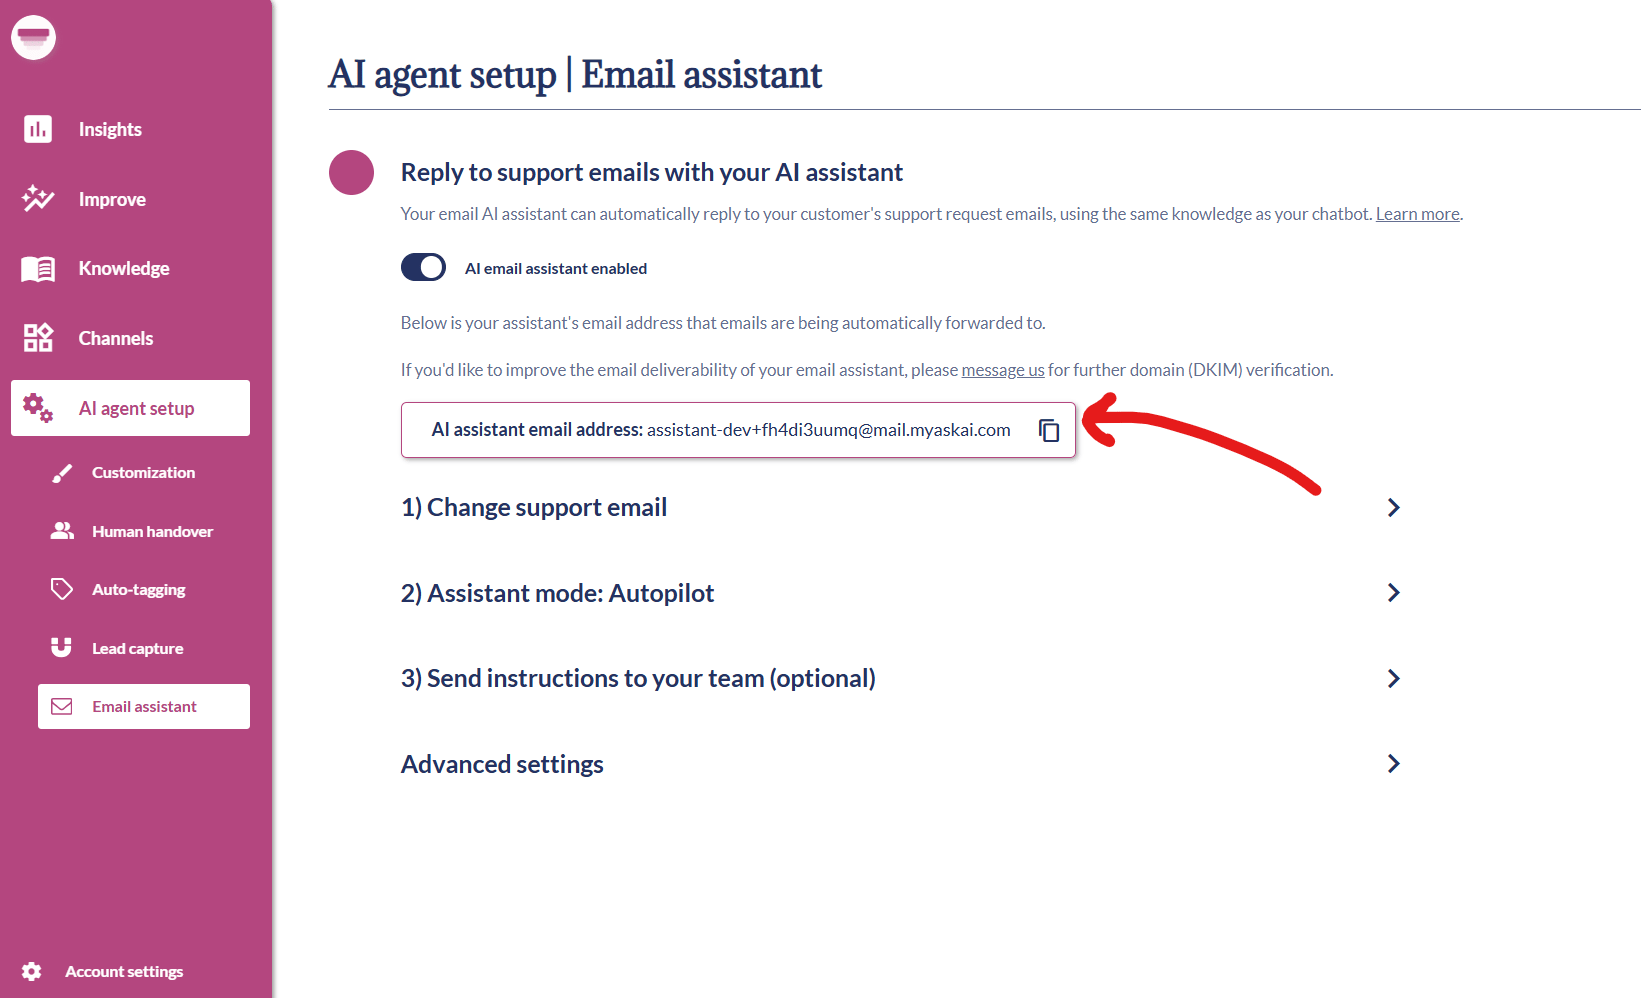
- Login to your Dashboard and go to AI agent setup > Email assistant
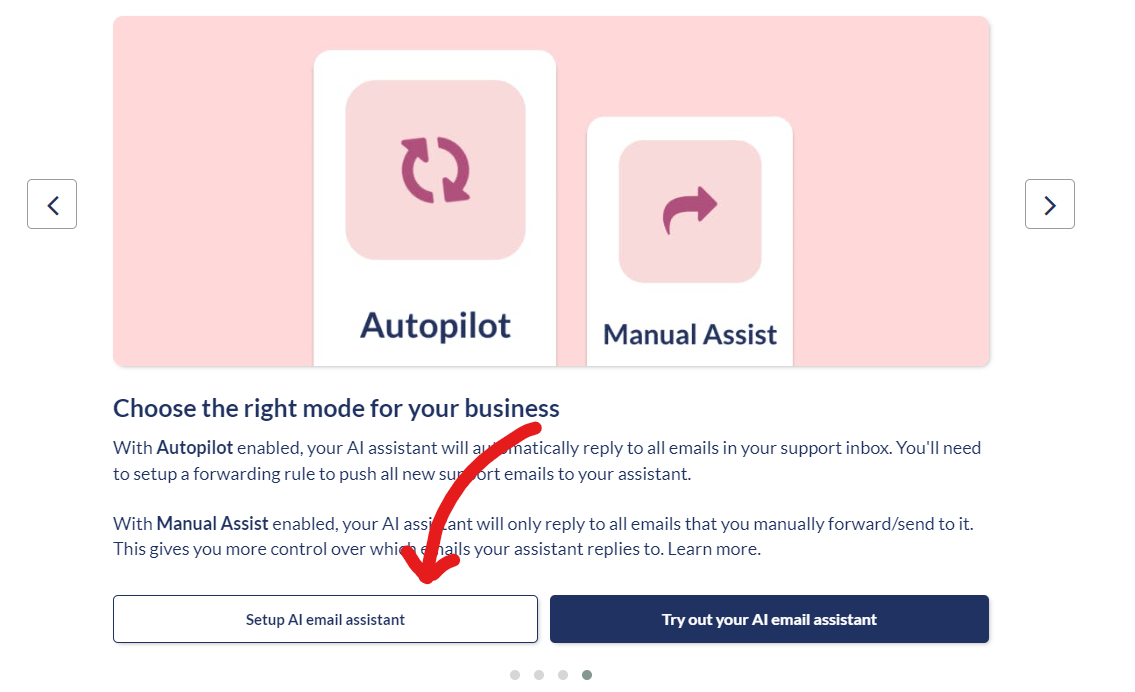
- Scroll through the carousel and click “Setup AI email assistant”
Testing your AI email assistant
-
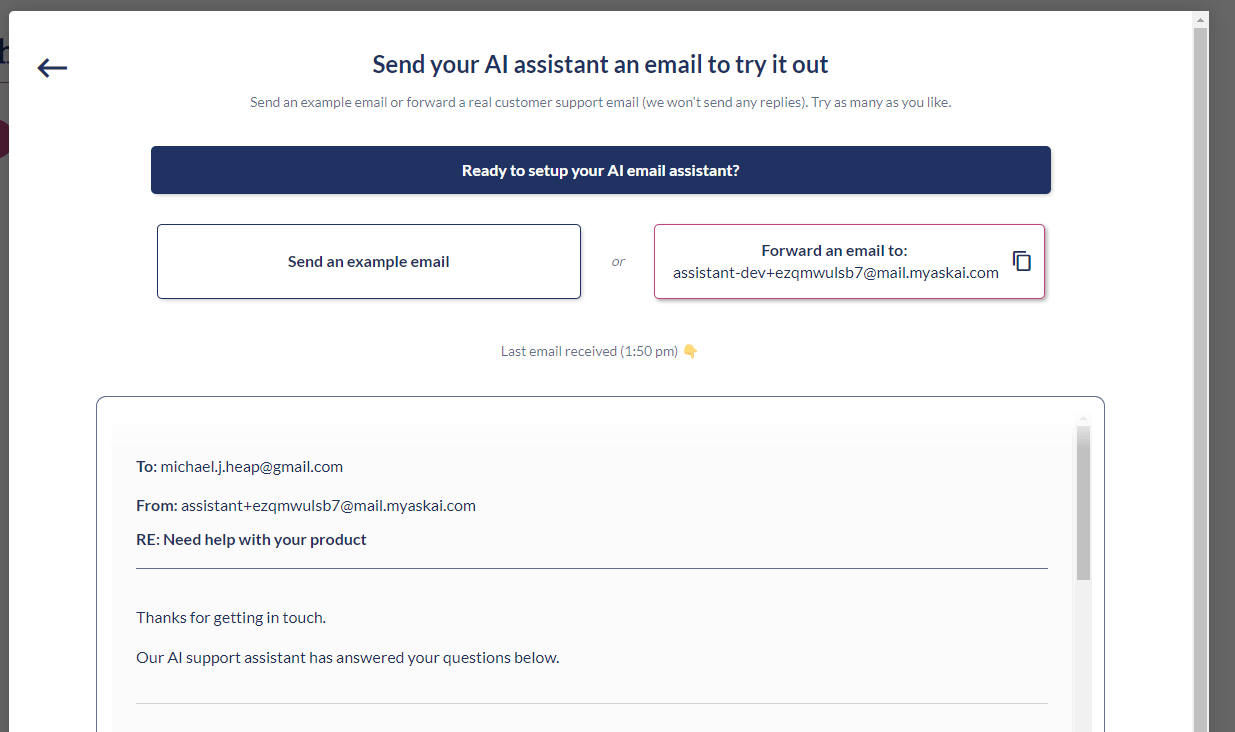
(Optional) You can start by trying out your email assistant by clicking “Test your email assistant” and then choosing to either:
- Send an example email — this will create a dummy customer email for you to send
- Forward an email to your assistant — this lets’ you copy your assistant’s custom email address, which you can then paste and use to forward a real customer support email (it won’t reply to the customer during setup!)
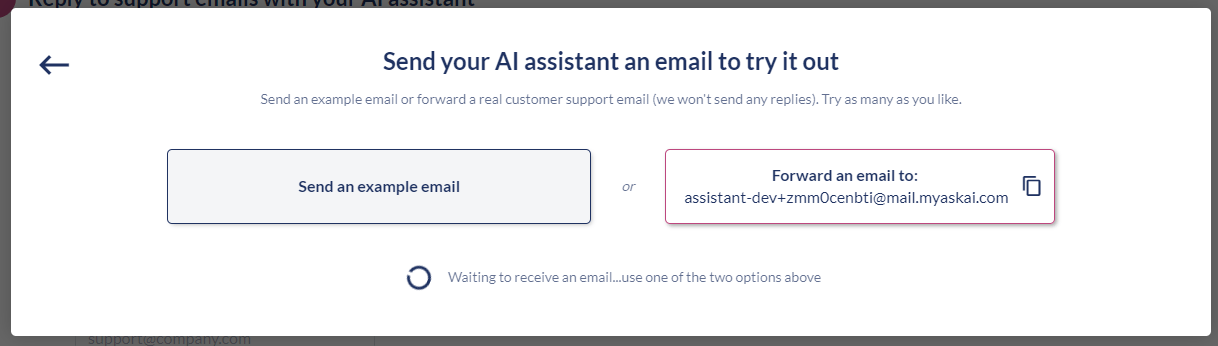
Trying out your AI email assistant
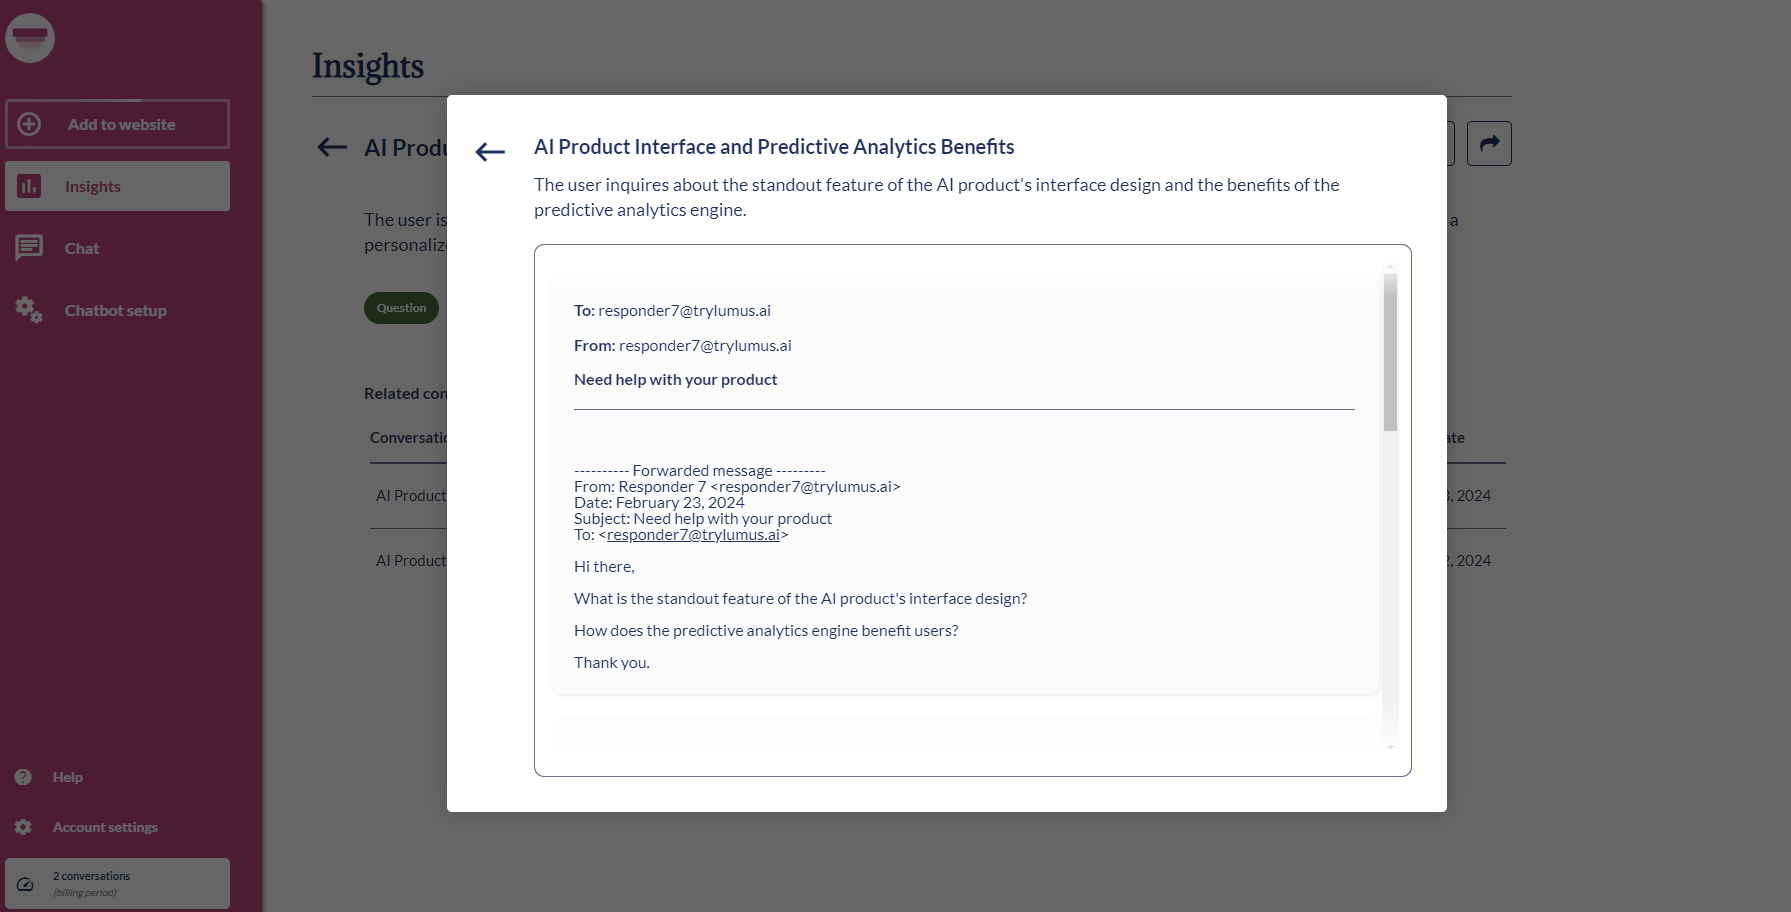
Once you have sent the email, wait (up to 30 seconds) while your AI assistant receives your email, and then you will see it shown below the 2 buttons, along with an answer generated by your AI assistant based on the knowledge you have uploaded.

Forwarding an email to this address will not send any response to your customers
Verifying your AI email assistant’s email
-
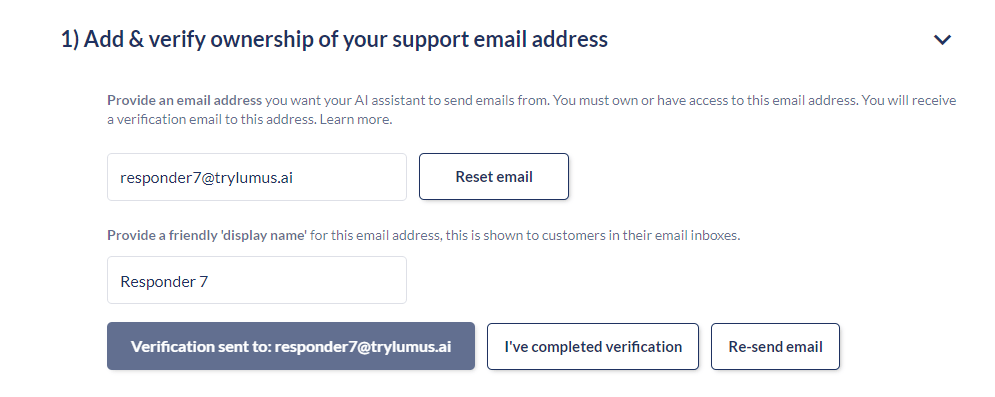
Add and verify ownership of your support email address:
- Add your support email address e.g. support@stripe.com, you must own and have access to this address
- Choose your email inbox display name — this is the name customers see, instead of your email address, when an email from you lands in their inbox e.g. “Stripe Support Team”
- Check your support email address (the one you added in the previous step), you should have received an email from “Postmark Support” to “Confirms sender signature”, it’ll look like this (check your spam folder if you haven’t got it):
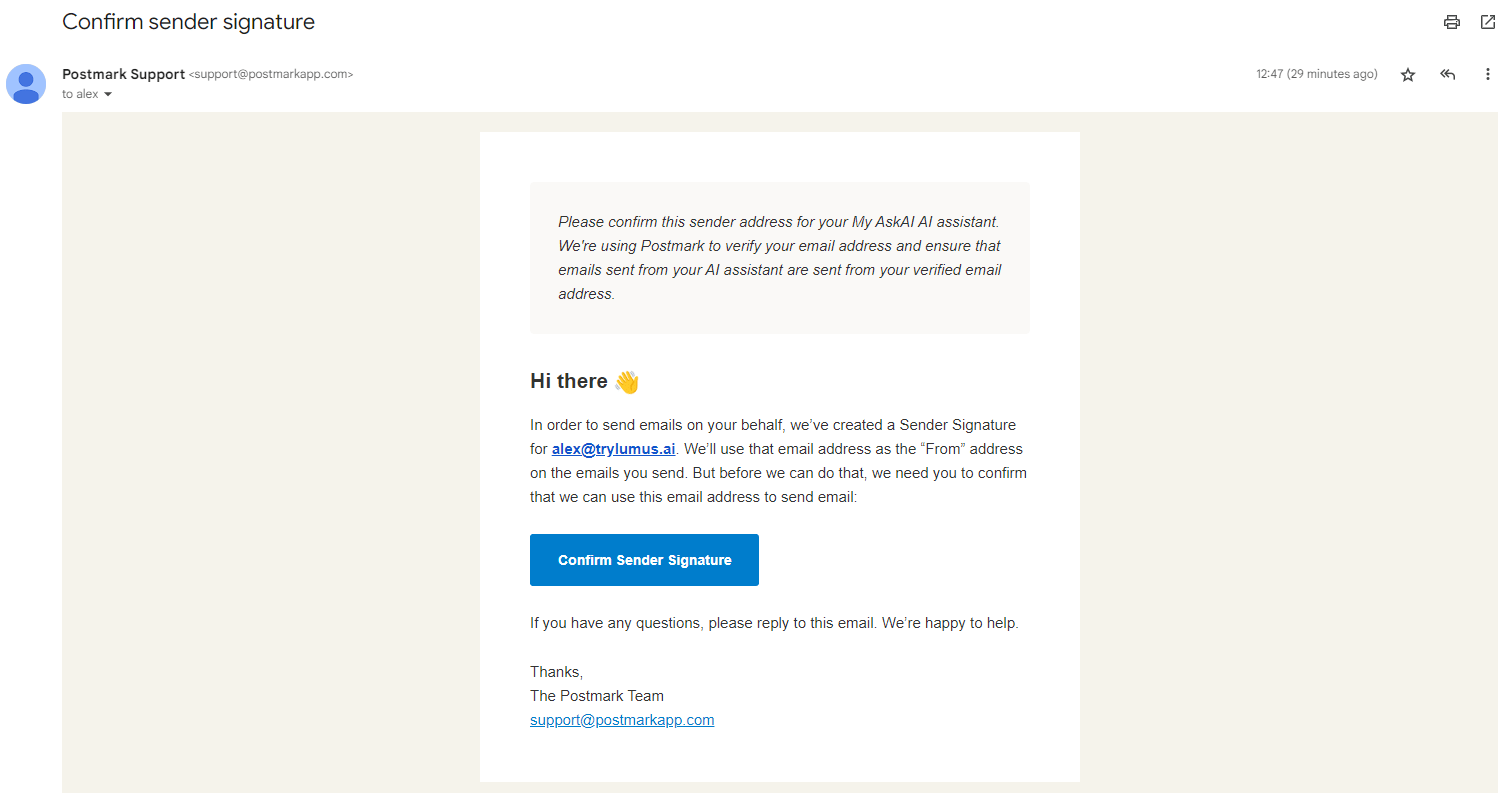
- Click “Confirm Sender Signature” (this proves you are the owner of the inbox), and you’ll be taken to this screen. You can then close this screen.

- After closing the Postmark screen, in My AskAI, click on “I’ve completed verification”. You can re-send the verification email by clicking “re-send email”.
- At this stage you will have to decide which mode to use your AI email assistant:
Manual Assist
- Choose your email assistant’s mode, in this case, “Manual assist”: (skip if you want to set up autopilot)
- Click “Forward a test email”, an email will pop-up, send this email as it is, and return to My AskAI.
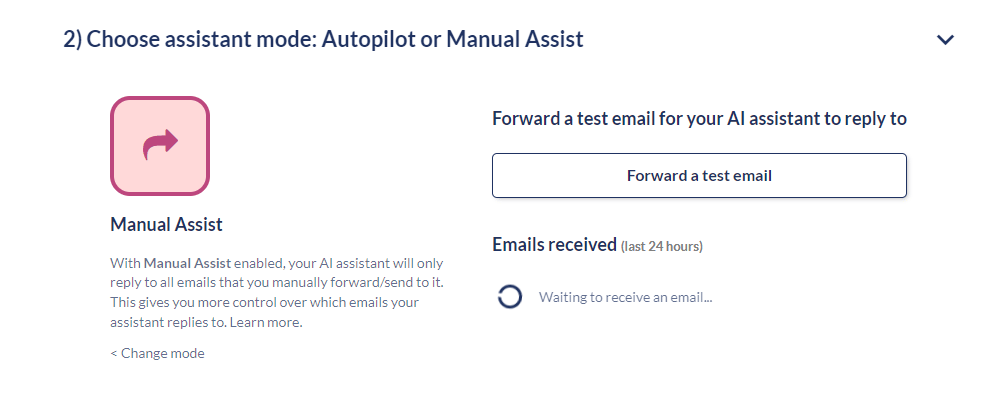
- We will now verify we can receive emails to your assistant, and reply via email on behalf of your company, using the email address you just verified. It may take a few seconds, once it has been received the step will close.
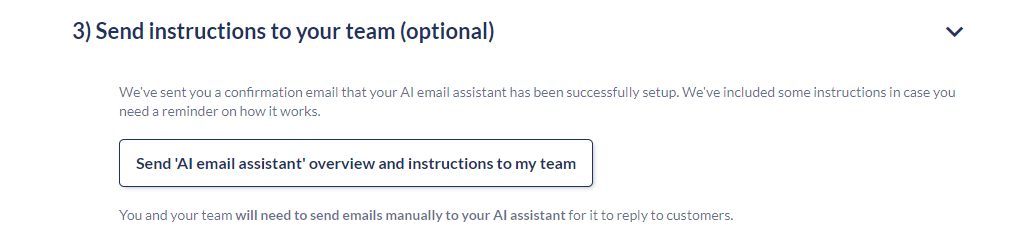
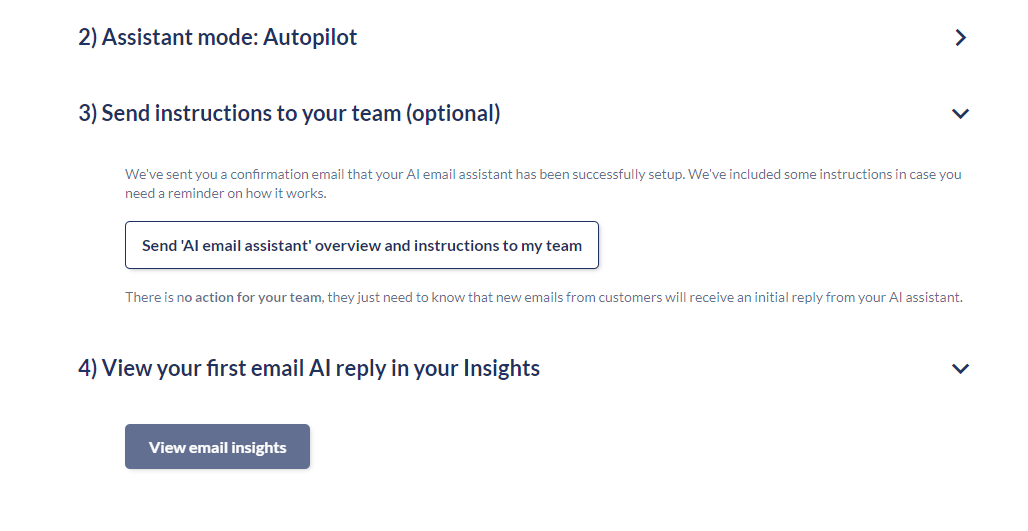
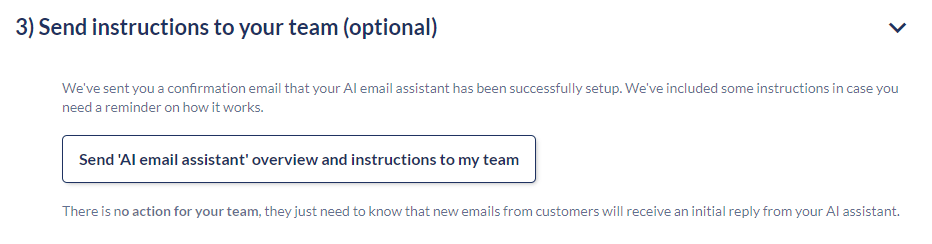
- At this stage you may want to forward our pre-written instructions to the rest of your team showing them how your new AI email assistant works and how they can use it
- To complete your setup, click “View email insights” and you’ll be taken to your Insights so you can see how your email insights will look in the dashboard, you’ll see the email address next to any topic that originated from an email.

- You’re all done! If you want to test it out, try sending an email to your new AI email assistant address, you can find this at the top of your Email assistant window
Autopilot
- Choose your email assistant’s mode, in this case, “Autopilot” (want to use manual assist?):
- Set up a forwarding rule from your existing support inbox (e.g. support@company.com) to your AI email assistant’s email (in the box that says “Forwarding rule to” with your mail provider. You can see how to do this for Gmail here and Outlook here.
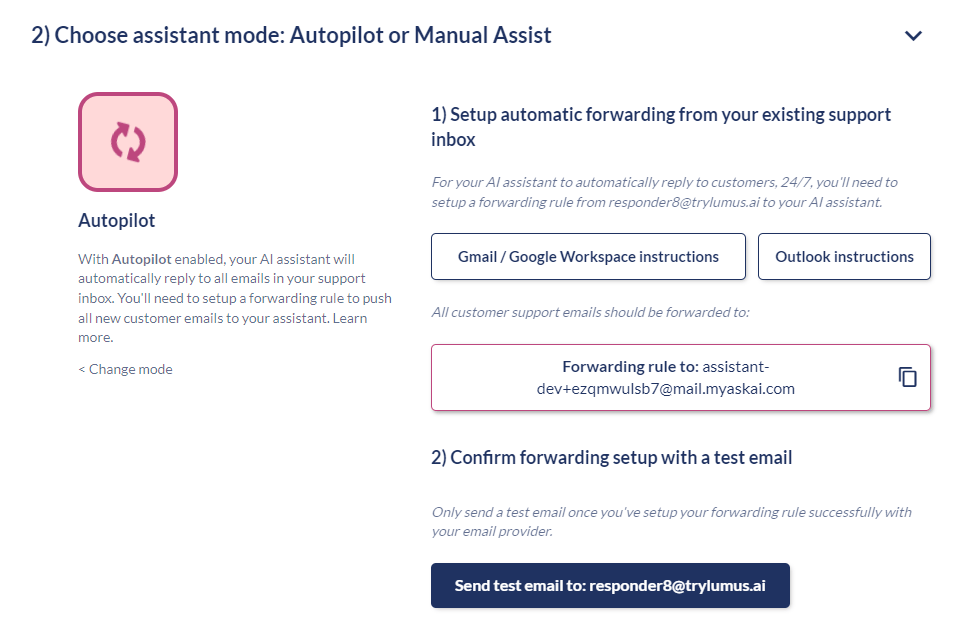
- Once you have set up your forwarding rule with your mail provider, click “Send test email to: support@company.com”, we’ll then send a test email to your account to check it has been set up correctly. If it has, this step will auto-close and you will see the next steps.
- We will now verify your inbox is automatically forwarding emails to your assistant. We’ll also check we can reply via email on behalf of your company, using the email address you just verified. It may take a few seconds, once it has been received the step will close.
- At this stage you may want to forward our pre-written instructions to the rest of your team showing them how your new AI email assistant works so they are aware
- To complete your setup, click “View email insights” and you’ll be taken to your Insights so you can see how your email insights will look in the dashboard, you’ll see the email address next to any topic that originated from an email.
- You’re all done! If you want to test it out, try sending an email to your support inbox, wait a few moments and you’ll get an AI reply from your assistant!
How can I test my AI email assistant’s responses?
To test your AI email assistant’s responses, you can click the “Test your email assistant” button on the AI agent setup > Email assistant screen, and then pressing either:- Send an example email — this will create a dummy customer email for you to send
- Forward an email to your assistant — this lets’ you copy your assistant’s custom email address, which you can then paste and use to forward a real customer support email (it won’t reply to the customer during setup!)
Forwarding an email to this address will not send any response to your customers
How do I set up email forwarding with my email provider?
This is only necessary when your AI email assistant is in “Autopilot” mode.
Setting up email forwarding for Gmail
- Login to your Gmail account and click the Settings gear icon in the top right corner of the screen
- Once Settings is open, select “Forwarding and POPMAP” from the navigation menu
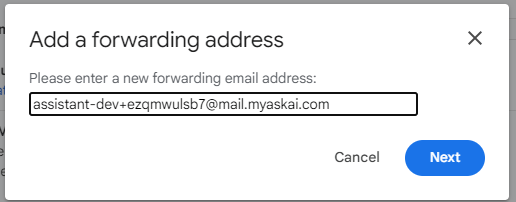
- Click “Add a forwarding address”
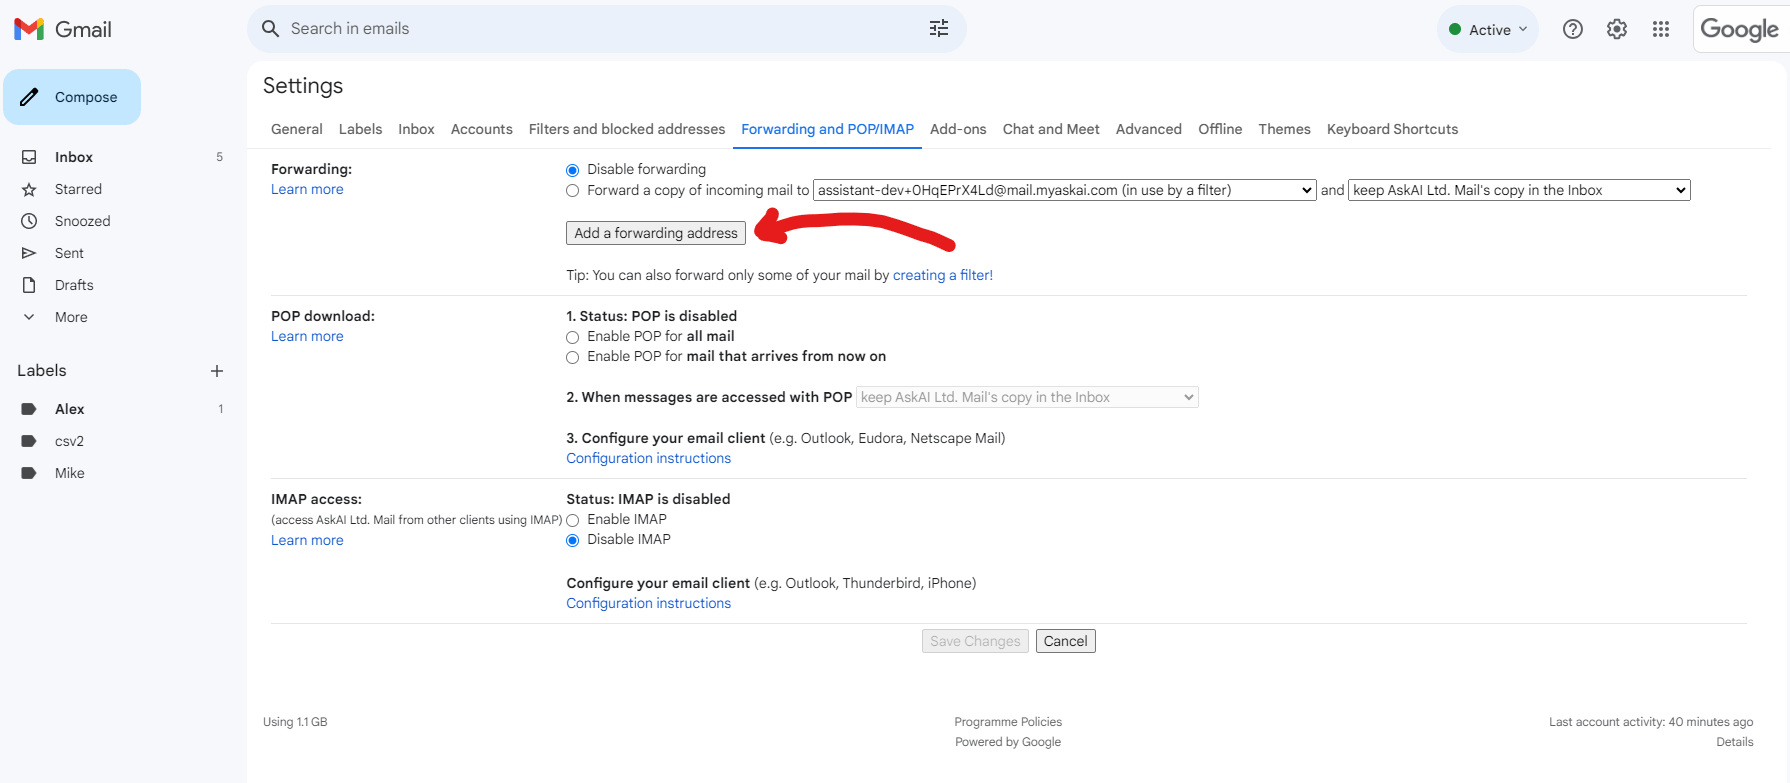
- Get the AI email assistant’s forwarding address from My AskAI (you can find this in AI agent setup > Email assistant) and enter it into the “Add a forwarding address” field.
- At this stage you may receive a verification email from Gmail to your inbox to verify you want to set up the forwarding, click the confirmation email link.
- You may then be asked to verify it is you, complete the necessary verification steps asked of you.
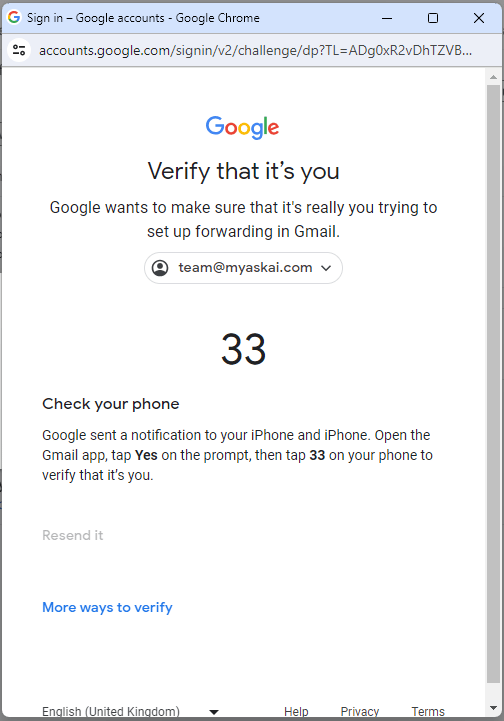
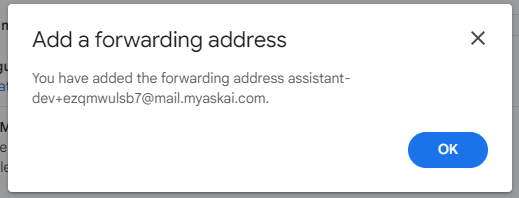
- Once verified you should see a confirmation that the forwarding address has been added.

- You have now created a forwarding address. But no email will be automatically forwarded until you either:
-
Choose to “Forward a copy of all incoming mail to <your new forwarding address>” from the Forwarding and POPMAP settings

- You create a filter rule to decide which mail is forwarded
-
Choose to “Forward a copy of all incoming mail to <your new forwarding address>” from the Forwarding and POPMAP settings
Setting up email filtering for Gmail
- Login to your Gmail account and click the Settings gear icon in the top right corner of the screen
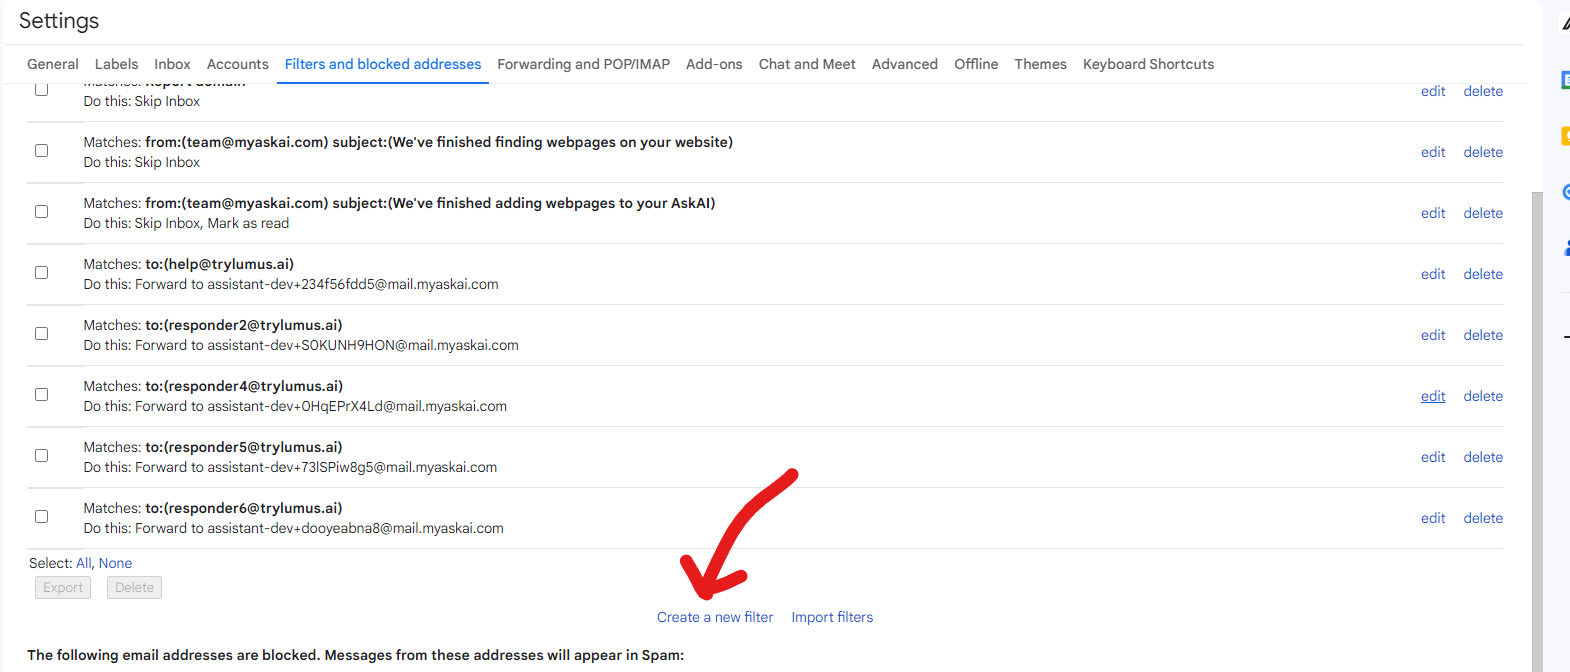
- Once Settings is open, select “Filters and blocked addresses” from the navigation menu
- Click “Create a new filter”

- Create your filter rule using the options available. In this case we are filtering all messages that are sent to a certain address. You may also want a more advanced filter for all messages with a certain subject, including certain words, etc.
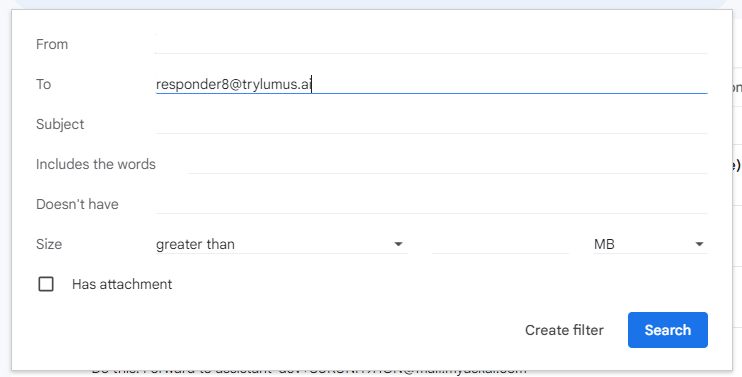
- Now decide what you want to happen with that email. You could auto-archive it, if you don’t want to see queries. Below we are auto-forwarding certain emails to our AI email assistant’s email, you could also apply a label automatically.
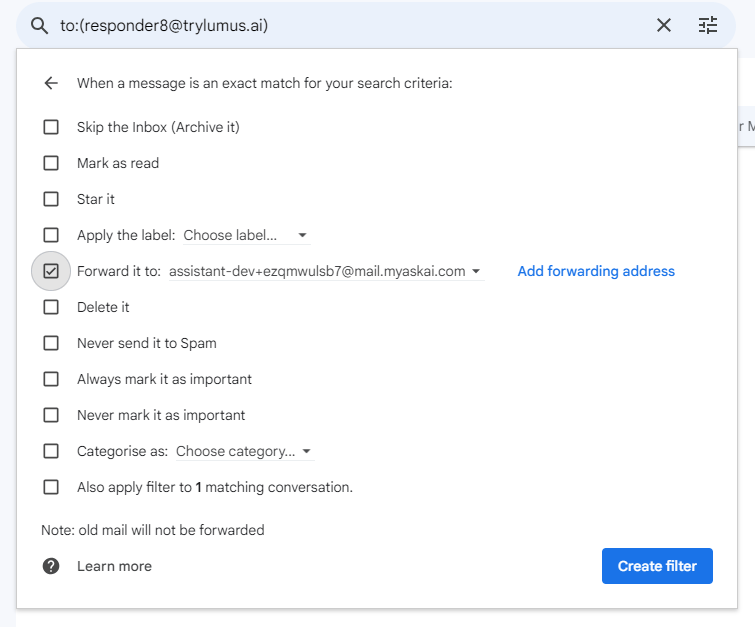
- Click “Create filter” and you are done. Test it out by sending an email and making sure the behavior is as you expect.
Setting up email forwarding for Outlook
- Login to your Outlook account and click the Settings gear icon in the top right corner of the screen.
- Under settings, click Mail and select Forwarding.
- Toggle Enable forwarding and enter the email address from My AskAI (you can find this in AI agent setup > Email assistant) and enter it into the “Forward my email to” field.
- Finally, click Save.
- You have now created a forwarding address!
How do I turn off my AI email assistant?
To turn off your email assistant, just go to AI agent setup > Email assistant and toggle the Email assistant switch on or off. If you have been using Autopilot, at this point you may want to remove any forwarding rules you have set up previously.What if the user doesn’t ask any questions in their email?
If your AI assistant can’t detect any questions or has any problems answering, it will always reply to the customer and also ask them for more information. This ensures a customer is never left hanging.How can I stop it responding to certain people (internal emails or automated responses)?
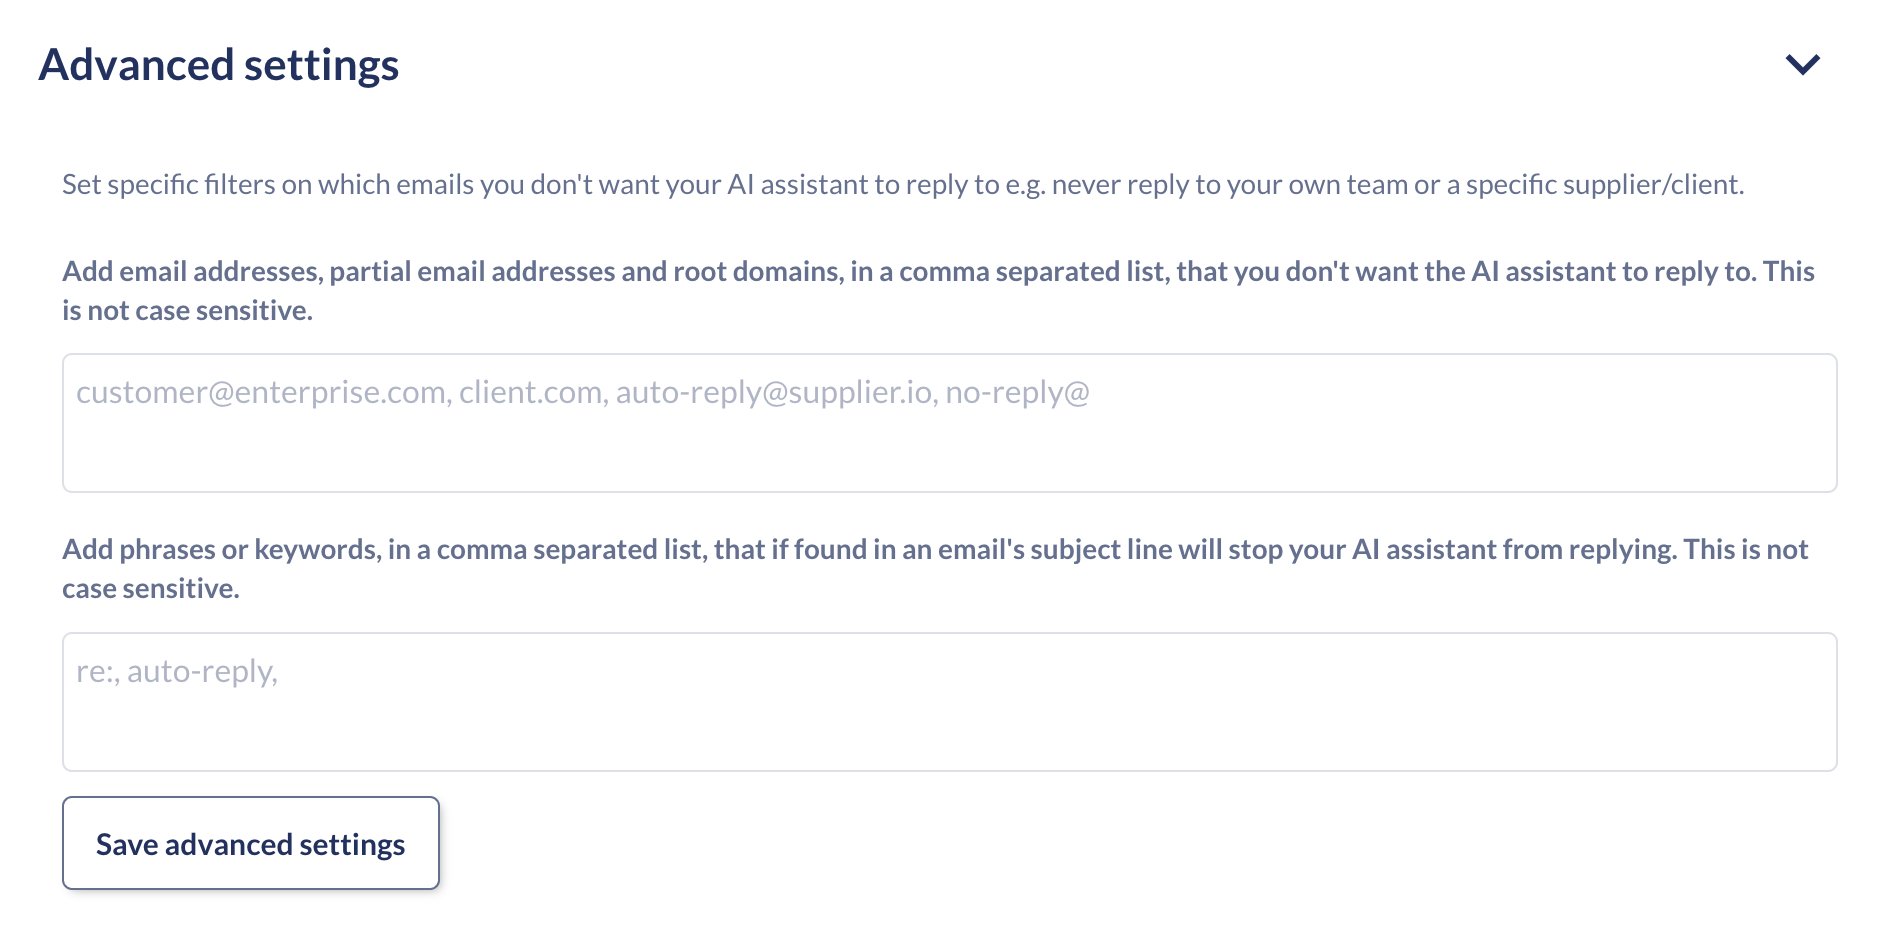
Note, this feature is currently in beta.
- Specific email addresses (whether partial or root domains) - this is for preventing responses to specific clients or internal team messages
- Specific phrases or keywords - this is for preventing responses to automated replies.
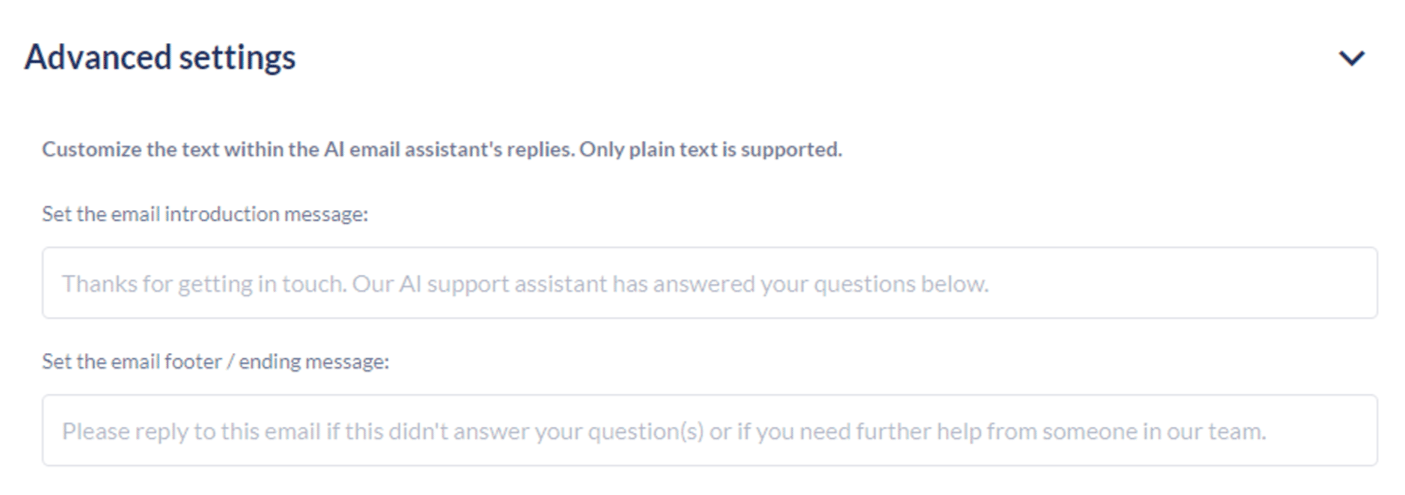
How can I change the email assistant’s introductory or ending message (footer)?
If you go to AI agent setup > Email assistant > Advanced settings you will see you have options to set:- Your email introduction message (by default this is: “Thanks for getting in touch. Our AI support assistant has answered your questions below.”)
- Your email footer or ending message: (by default this is “Please reply to this email if this didn’t answer your question(s) or if you need further help from someone in our team”)